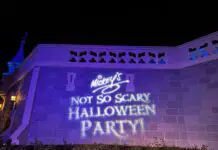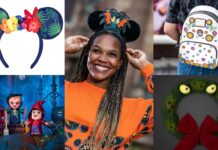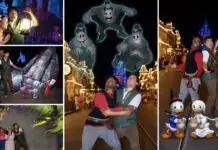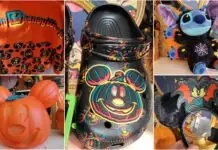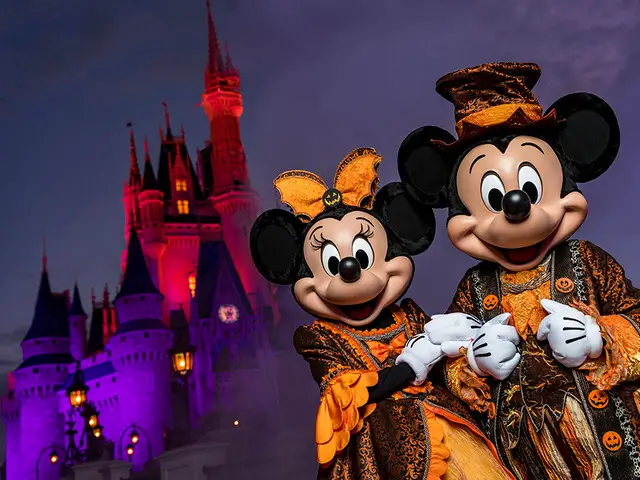
Some of you are likely headed to Mickey’s Not So Scary Halloween Party this year – and let me just say how JEALOUS I am of you all! If you’ve never been – it’s a great time at the Magic Kingdom – there’s trick-or-treating, villain meet and greets, an awesome parade, oh and everyone dresses up in costume, too! But if you’re not not going this year – fear not! Just because you’re not going to the party doesn’t mean you can’t DIY your own Disney fun this Halloween:
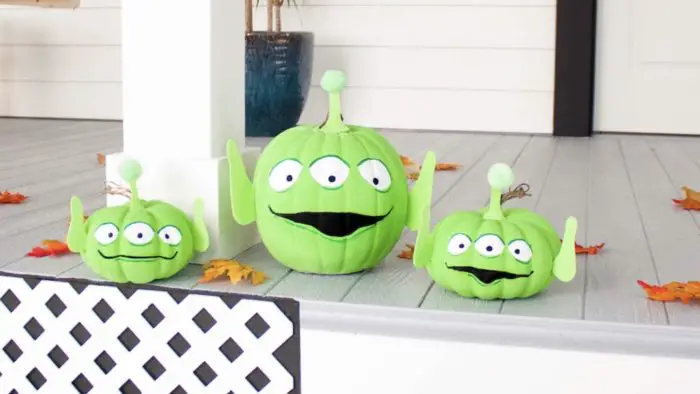
Pumpkins are an essential part of any Halloween decor – and with the opening of Disney World’s Toy Story Land earlier this year at Hollywood Studios, the franchise is super hot right now – so these Alien Pumpkins would be the perfect thing to DIY! And as an added bonus – there’s no carving required!
What You’ll Need
White craft pumpkin
Paintbrush
Lime and dark green, white, and black acrylic paint
Lime green craft foam
Lime green pom-pom
Hot glue
How To Make It
Paint the entire craft pumpkin with lime green paint. Let it dry.
Use the white paint to create three ovals for the alien’s eyes. Let it dry.
Use black paint for the alien’s mouth.
With dark green paint, add shadows on the top and bottom of the eyes and the bottom of the mouth.
With black paint, add pupils to each eye.
Cut out the alien’s ears from lime green craft foam. Hot glue them into place on either side of the pumpkin.
Cut out the alien’s antenna from lime green craft foam. Hot glue the lime green pom-pom on top. Hot glue the completed antenna to the stem of the pumpkin. Repeat the steps for additional alien pumpkins.
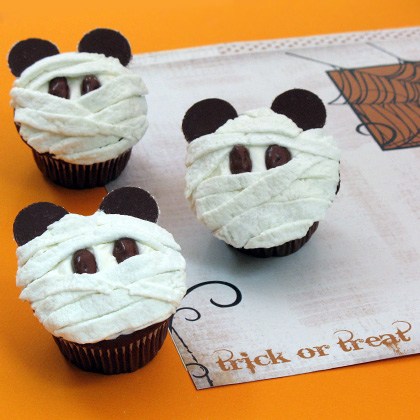
Obviously CANDY is the main item on most Halloween menus, but if you’re looking for a fun sweet alternative – then check out these Mickey Mummy Cupcakes
What you’ll need
Batch of baked cupcakes
Wax paper
Confectioner’s sugar
Rolling pin
Marshmallows
Kitchen scissors
White frosting
Chocolate nonpareil candies
Chocolate-covered raisins
How to make it
Working atop wax paper dusted with confectioners sugar, use a rolling pin to flatten a bunch of marshmallows.
Use kitchen scissors to cut the rolled marshmallows into thin strips. Set the strips aside for now.
Frost the cupcakes. Press a pair of nonpareil candies (white side down) into the frosting at the top of each cupcake to resemble Mickey ears. Then add a pair of chocolate-covered raisin eyes.
Randomly place marshmallow strips over each cupcake, leaving the eyes exposed, to resemble a mummy. Gently press the strips into the icing just enough to make them stick in place. When the cupcakes are sufficiently covered, use the kitchen scissors to trim the marshmallow around the perimeters, as needed.
And whether or not you’re headed to the Magic Kingdom to celebrate Halloween with Mickey, you and your kids will need great Disney-themed costumes to show off your Disney side! If you’re feeling crafty – then check out these Kid’s Disney Costume DIY’s, and these Adult Disney Costume Ideas, too. Of course – should you not be as handy with a sewing machine or maybe you ran out of time – you can always head to your local Disney Store, or check out their selection online here
Hopefully these ideas have inspired you to try and DIY your own Disney Halloween fun! For even more inspiration, recipes and more check this out
Happy Halloween-ing!

Let our friends at Destinations to Travel help you book your next Disney Vacation. They are the preferred Travel Agency of Chip and Company and Disney Addicts, and who we use ourselves.
Get started Now for your FREE No Obligation Quote.
Book With our friends at Destinations to Travel
- Tips for staying cool while visiting Walt Disney World - June 18, 2022
- Disney DIY – Theme Park Map Picture Frames - May 28, 2020
- Favorite Walt Disney Quotes - October 29, 2019

